如您所知,Magento 1 Grid是一种表,它列出了数据库表中的项目,并为您提供了一些功能,如:排序,过滤,删除,更新项目等。
本文将介绍如何在Magento 1中创建一个简单的管理网格。
第1步:为管理网格创建简单模块。
在创建管理网格之前,您必须先创建一个模块。
例如:创建一个名为AdminGrid的模块。创建文件app \ etc \ modules \ Bss_AdminGrid.xml
<?xml version="1.0"?>
<config>
  <modules>
    <Bss_AdminGrid>
      <active>true</active>
      <codePool>local</codePool>
      </Bss_AdminGrid>
    </modules>
</config>创建文件app \ code \ local \ Bss \ AdminGrid \ etc \ config.xml
<?xml version="1.0"?>
<config>
  <modules>
    <Bss_AdminGrid>
      <version>1.0.0</version>
    </Bss_AdminGrid>
  </modules>
  <global>
    <helpers>
      <admingrid>
        <class>Bss_AdminGrid_Helper</class>
      </admingrid>
    </helpers>
  </global>
</config>如果使用translate属性,则应声明模块的默认帮助程序。因此创建文件app \ code \ local \ Bss \ AdminGrid \ Helper \ Data.ph
<?php
class Bss_AdminGrid_Helper_Data extends Mage_Core_Helper_Abstract
{
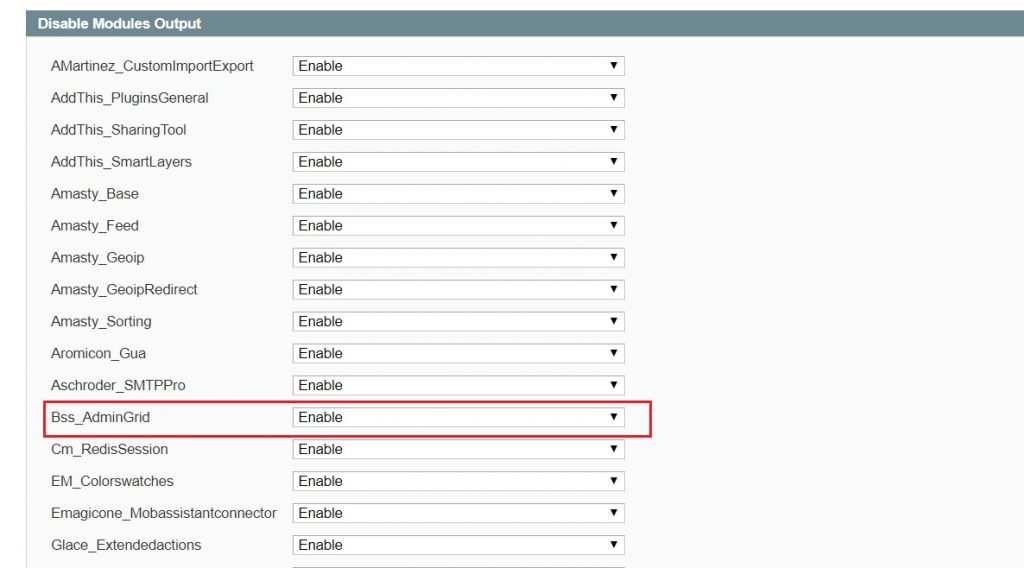
} 所以你有一个简单的模块,你可以通过访问后端:
System/Configuration/Advanced/Advanced